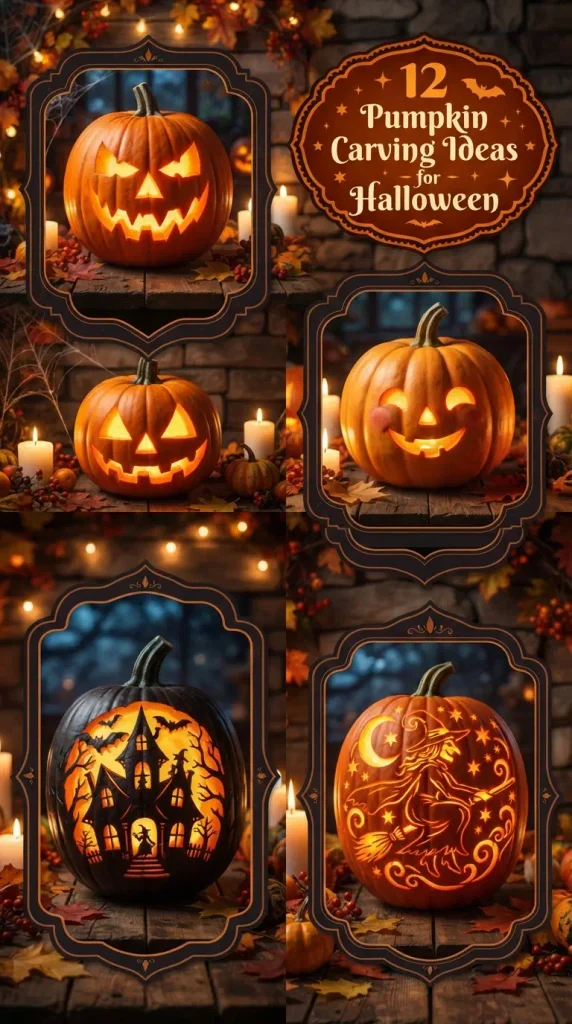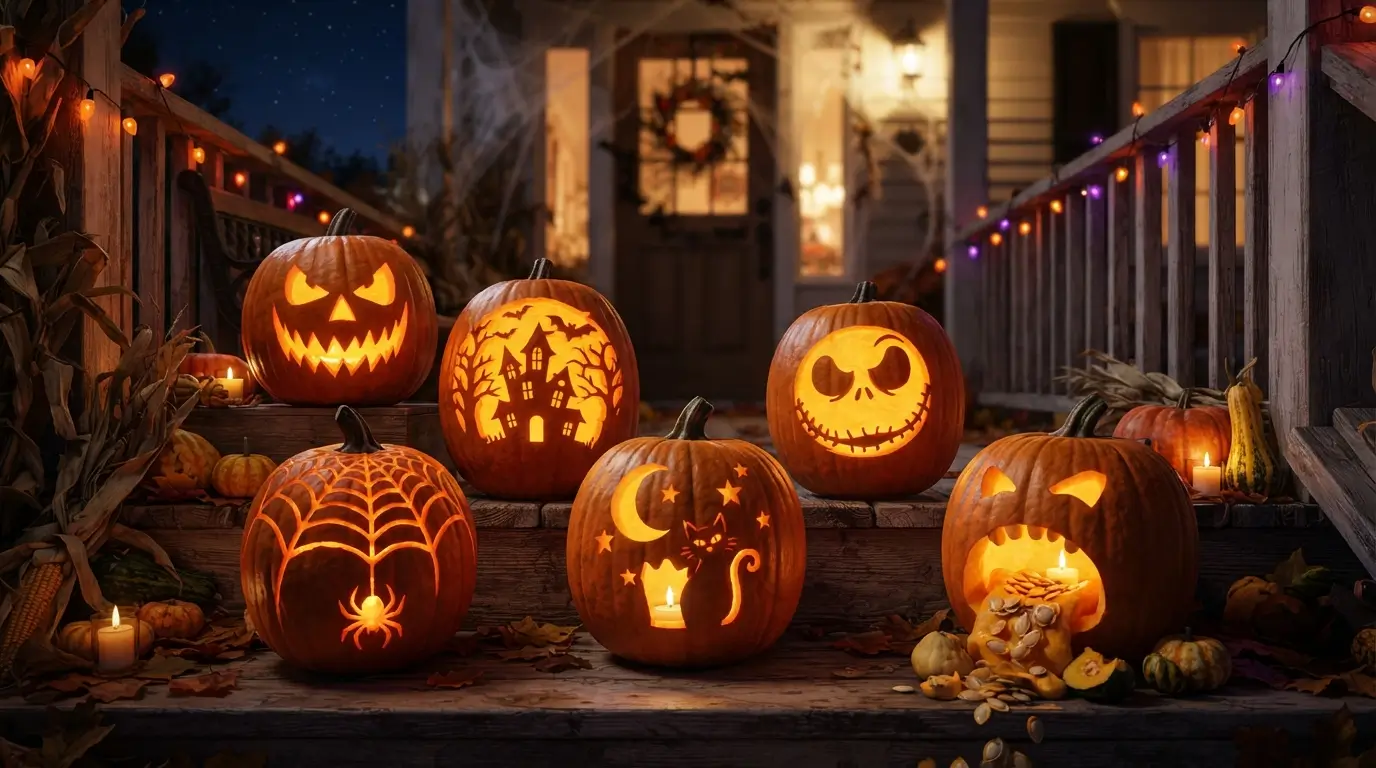
Halloween is creeping closer, and honestly, is there anything that feels more like Halloween than a glowing pumpkin sitting on the front porch after dark? Maybe you want something spooky enough to make the neighbors look twice.
Or perhaps you’re leaning toward a cute, cozy fall look with just a little Halloween magic sprinkled in. Either way, the right carving idea can completely change the feel of your outdoor decor.
So grab a pumpkin, sharpen that carving tool, and get ready to explore some fun and creative ideas that might just inspire your favorite pumpkin yet.
Key Takeaways
- There is a carving style for every skill level, from minimalist designs to advanced pop-culture portraits.
- Having the right tools—like fine detail saws or power drills makes a massive difference in the final look.
- Straying away from traditional faces to include flowers, animals, or silhouettes can make your decor uniquely yours.
Why Choose Custom Carved Pumpkins?
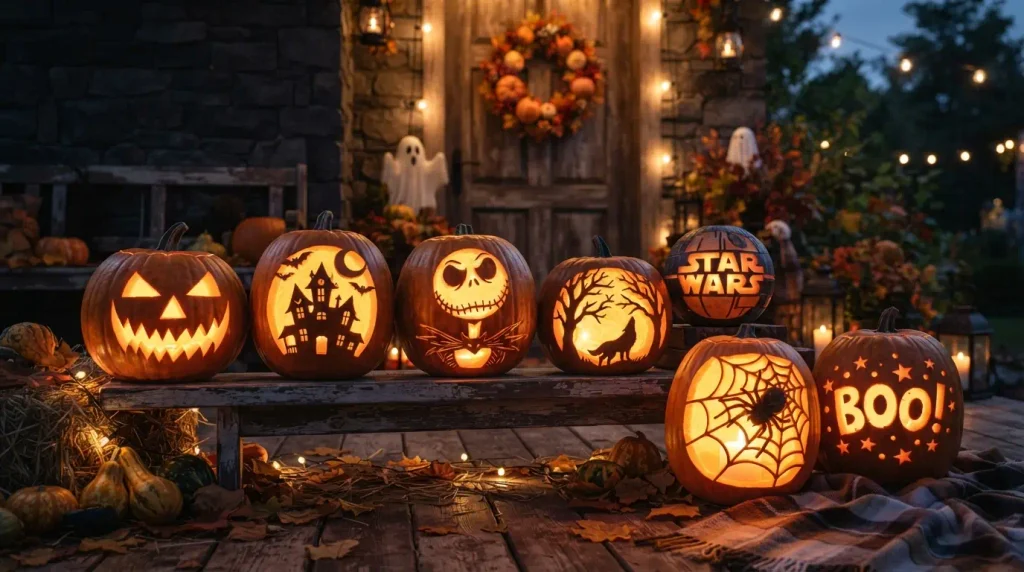
Choosing to carve your own pumpkin allows you to fully express your creativity and personalize your home’s exterior for the neighborhood trick-or-treaters.
A custom carving is a wonderful way to participate in a beloved holiday tradition, providing an engaging activity for families or a relaxing solo craft session.
Plus, the satisfaction of seeing your own design light up the dark autumn night simply cannot be matched by store-bought, plastic decorations.
Pros and Cons
Pros:
- Highly customizable to fit any personal aesthetic.
- A fun, memorable seasonal activity for all ages.
- Natural and biodegradable decor option.
- Roasted pumpkin seeds make a delicious post-carving snack.
Cons:
- Real pumpkins can rot quickly depending on the weather.
- Complex designs require patience and precision.
- The scooping and carving process can be quite messy.
1. Classic Jack-o’-Lantern
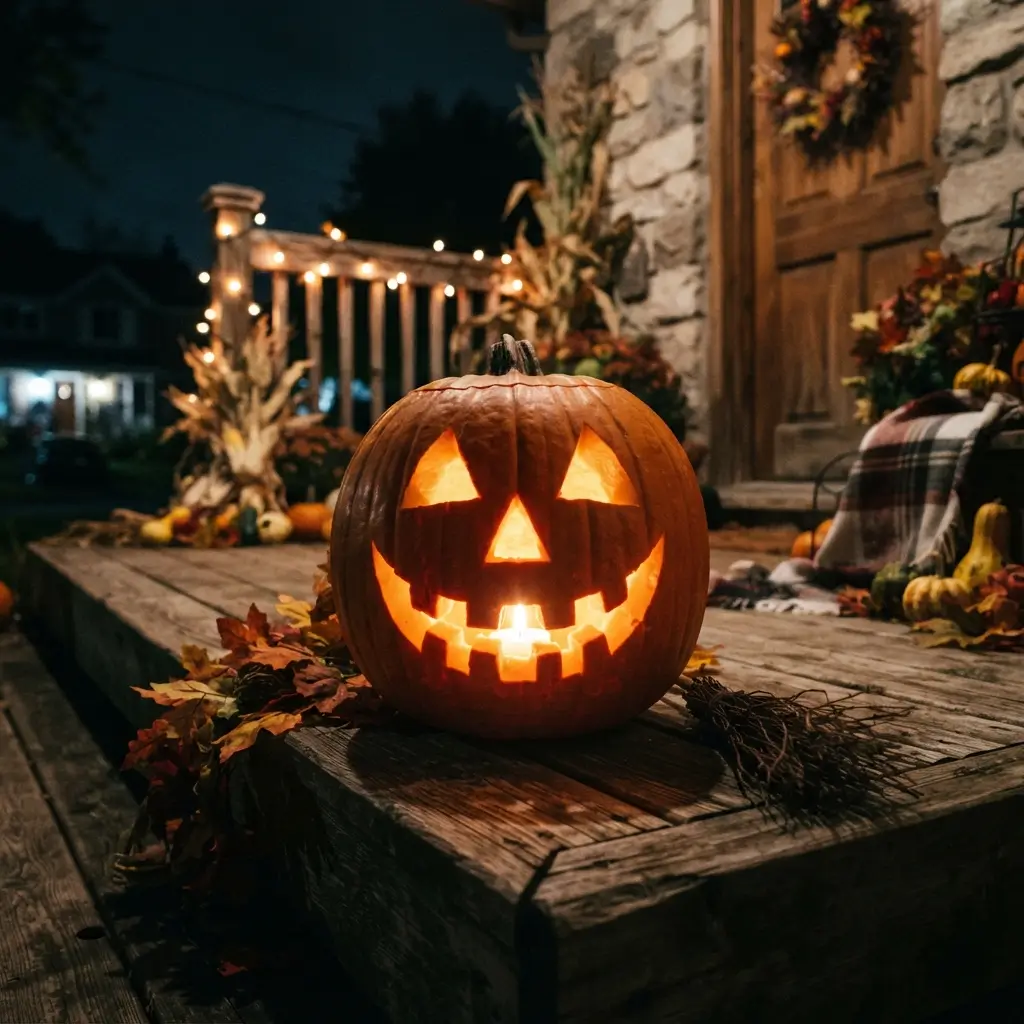
The classic Jack-o’-Lantern remains an absolute must-have for any traditional Halloween porch display.
Nothing beats the timeless charm of triangle eyes, a small triangular nose, and a wide, jagged, toothy grin glowing brightly in the dark autumn night.
This iconic design is incredibly approachable for beginners and still highly beloved by seasoned carvers.
To make your classic pumpkin stand out, experiment with the angle of the eyes or the sheer size of the smile. It perfectly captures the true, nostalgic spirit of this spooky October holiday.

2. Spooky Haunted House
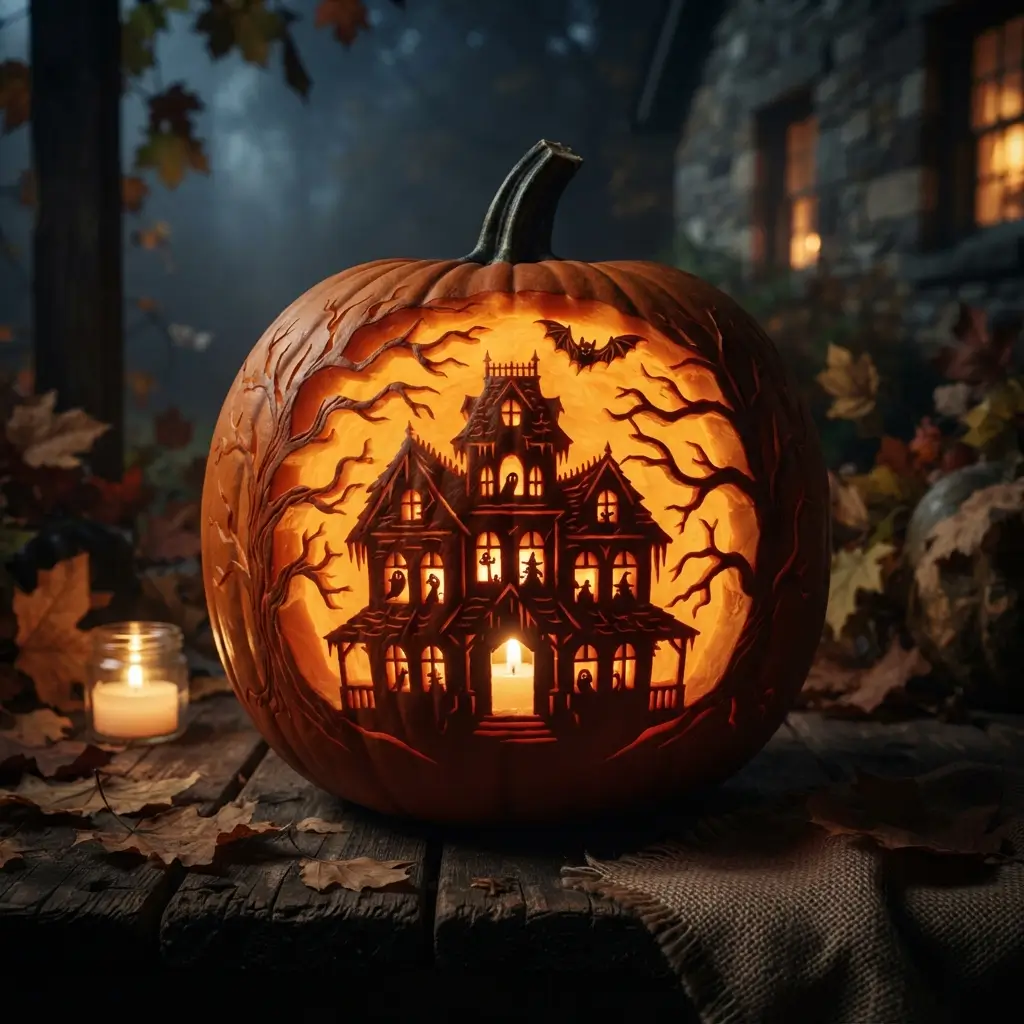
Creating a spooky haunted house scene turns your pumpkin into a mesmerizing miniature diorama.
Carefully carve out the jagged silhouette of a creepy old mansion, adding tiny square windows that will glow eerily from within.
You can surround the house with bare, twisting tree branches and a tiny flying bat for extra atmospheric detail.
While this intricate design demands a steady hand and specialized tiny saws, the jaw-dropping final result is absolutely worth the effort.
It transforms a simple squash into a striking piece of seasonal art.
3. Creepy Crawly Spider
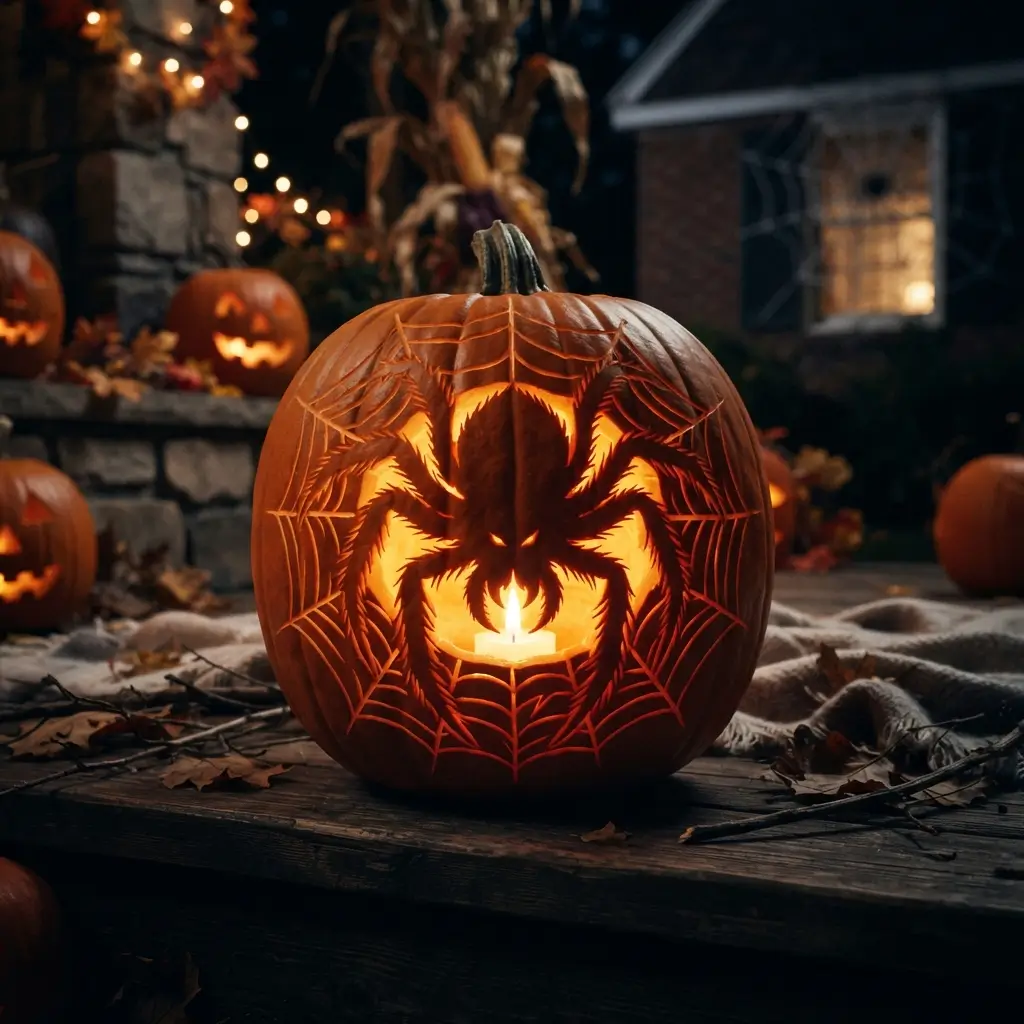
A creepy crawly spider design offers a wonderfully unsettling vibe that perfectly suits the spooky season.
Instead of a traditional face, carve a large, menacing arachnid right on the front of your pumpkin.
Make sure to hollow out the body and leave the eight spindly legs intact, allowing the candlelight to dramatically outline the scary silhouette.
You can even carve a subtle web pattern radiating outward from the spider. This creepy design guarantees to send a fun, festive shiver down the spine of every neighborhood trick-or-treater.
4. Whimsical Fairy Silhouette
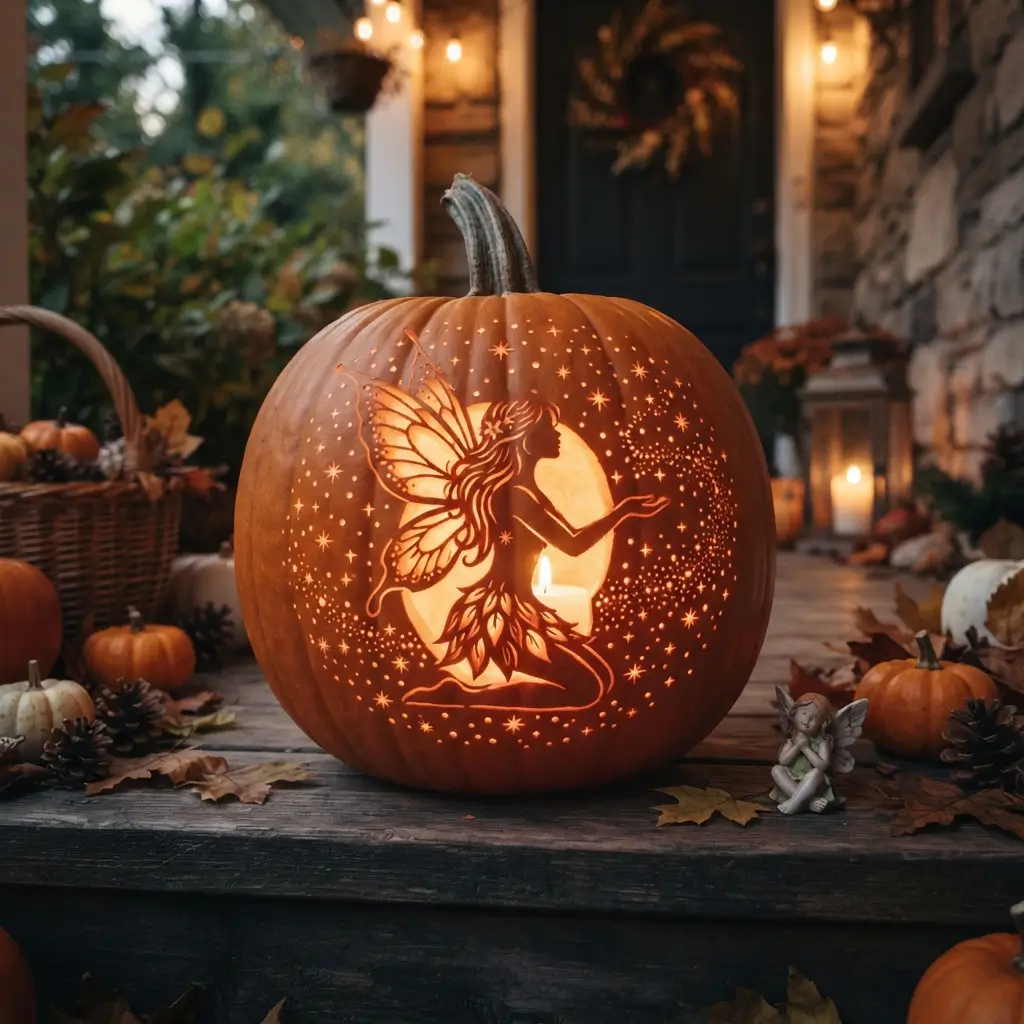
Bring a touch of magical enchantment to your porch with a whimsical fairy silhouette carving.
This design features a delicate, winged fairy kneeling or flying, surrounded by tiny, sparkling stars created by simply drilling small holes into the rind.
When illuminated from the inside, the fairy appears to glow with ethereal beauty. It offers a wonderful, family-friendly alternative to the traditional scary faces.
Utilizing a printed template and precision tools makes capturing the intricate details of the delicate fairy wings and flowing hair surprisingly easy and fun.
5. Glowing Constellations
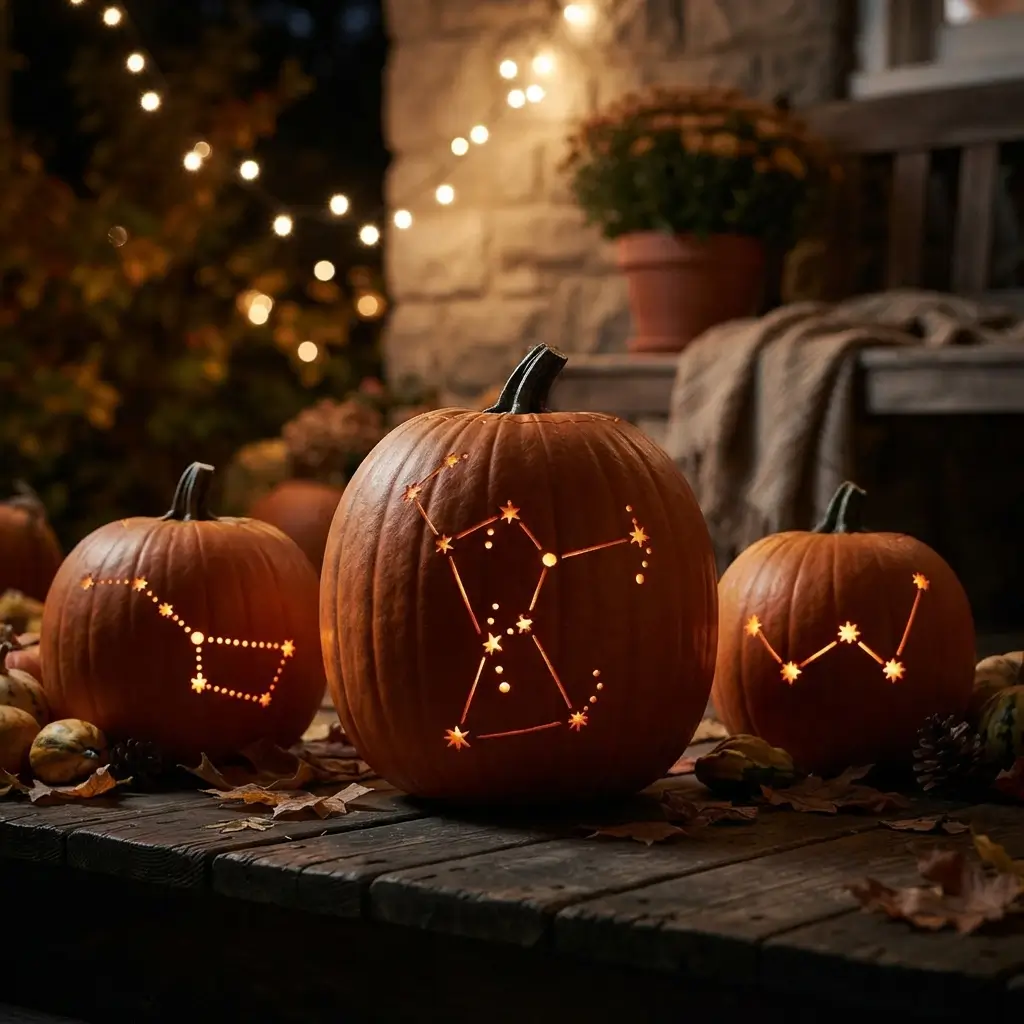
If you want something truly unique and incredibly easy, try carving glowing constellations into your pumpkin.
Simply map out your favorite star signs, like the Big Dipper or Orion, directly onto the surface.
Use a small drill or a simple wooden skewer to poke holes of varying sizes for the stars, then connect them with very shallow, scraped lines.
When lit up at night, your pumpkin transforms into a stunning, miniature night sky. This elegant, minimalist approach completely avoids the messy hassle of intricate, deep slice cutting.
6. Toothy Monster Grin
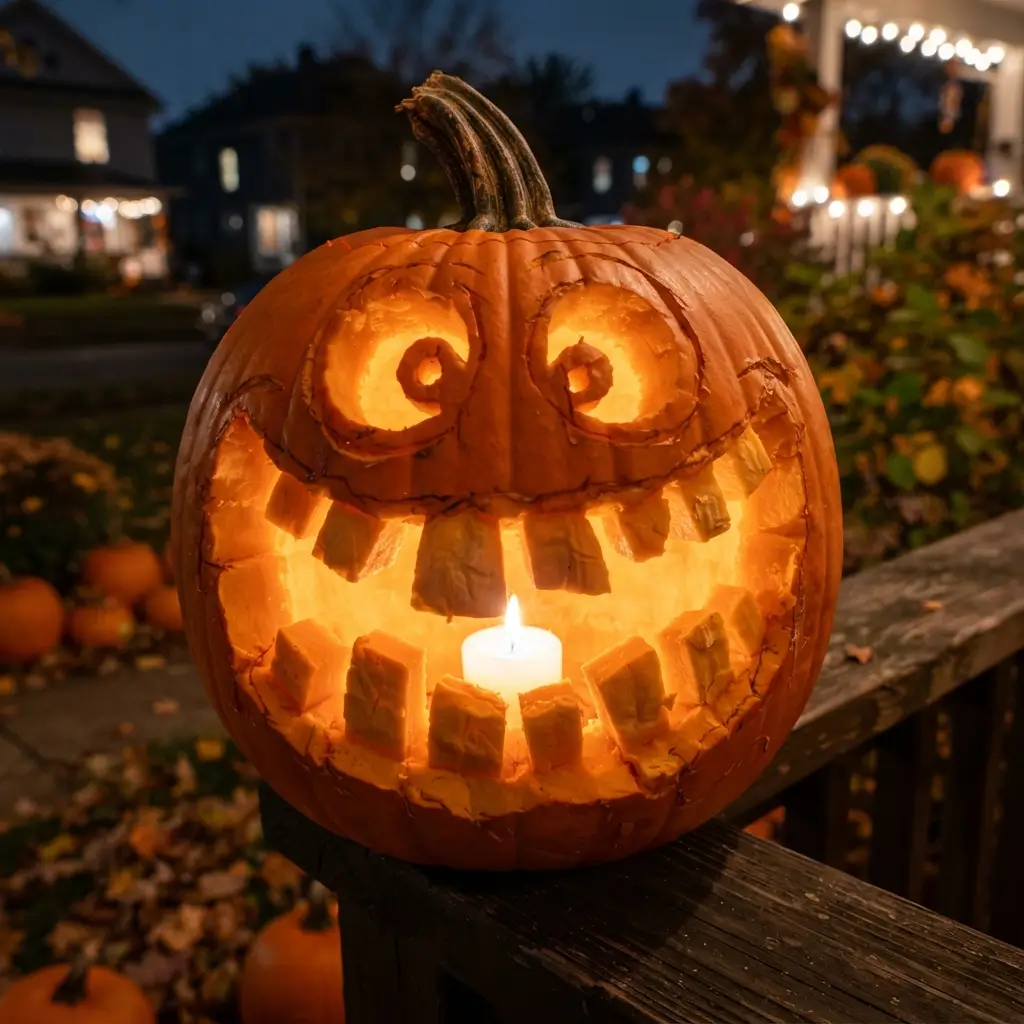
Give your neighbors a hilarious fright with a massive, toothy monster grin that stretches across the entire pumpkin.
The secret here is to carve an oversized, gaping mouth while leaving large, blocky teeth scattered haphazardly inside.
Add two huge, uneven circles for crazy, unblinking eyes to complete the comical monster aesthetic.
This design is highly forgiving because asymmetry actually makes the creature look even more unhinged and entertaining.
It is a fantastic, playful project that allows carvers to get wonderfully creative and completely embrace messy, chaotic shapes.
7. Elegant Floral Mandala
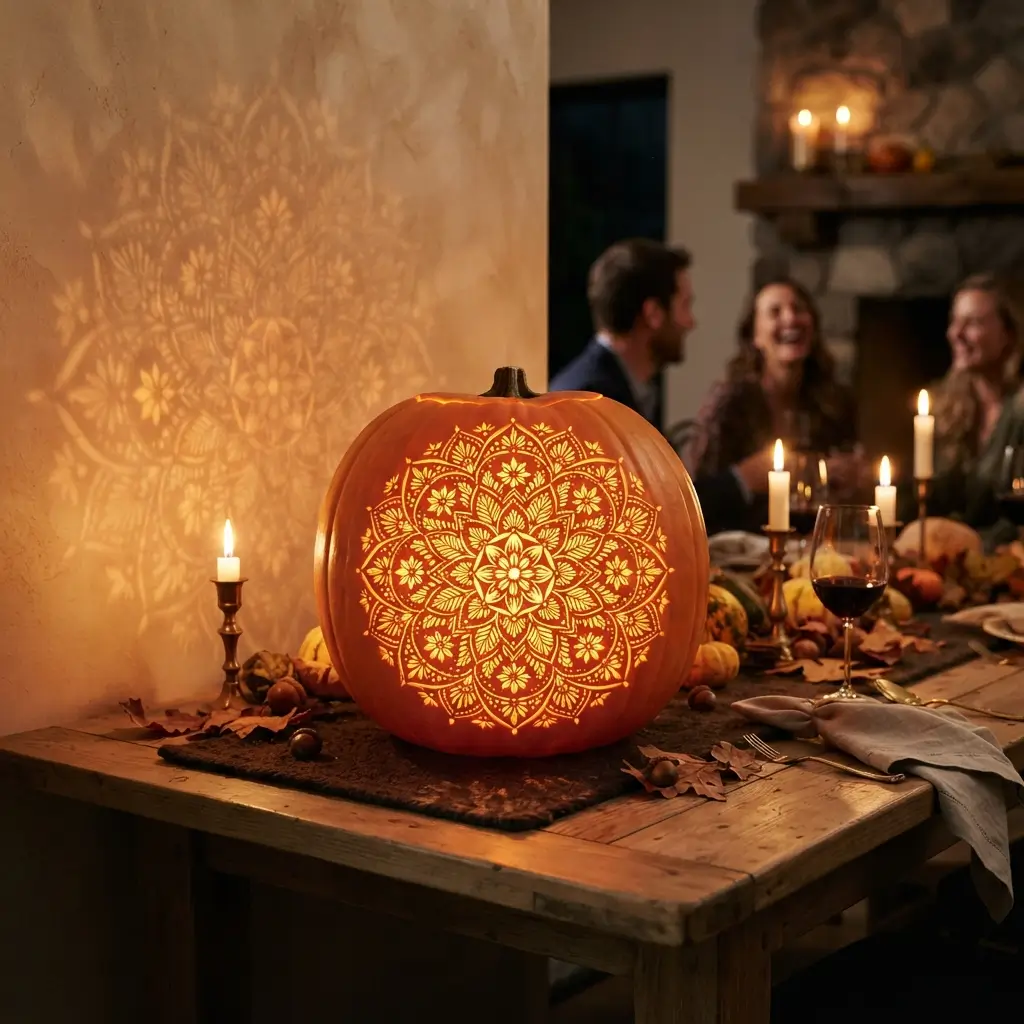
Elevate your autumn decor by carving an elegant floral mandala that radiates beauty and sophisticated charm.
This design involves carving intricate, repeating geometric petals and soft leaf shapes in a circular pattern around the center of the pumpkin.
Since it relies heavily on symmetry, using a pre-made stencil is highly recommended for achieving flawless results.
The soft, ambient light filtering through the detailed floral cutouts casts absolutely mesmerizing shadows on your walls. It is the perfect centerpiece for a classy, grown-up Halloween gathering or a stylish dinner party.
8. Witch on a Broomstick
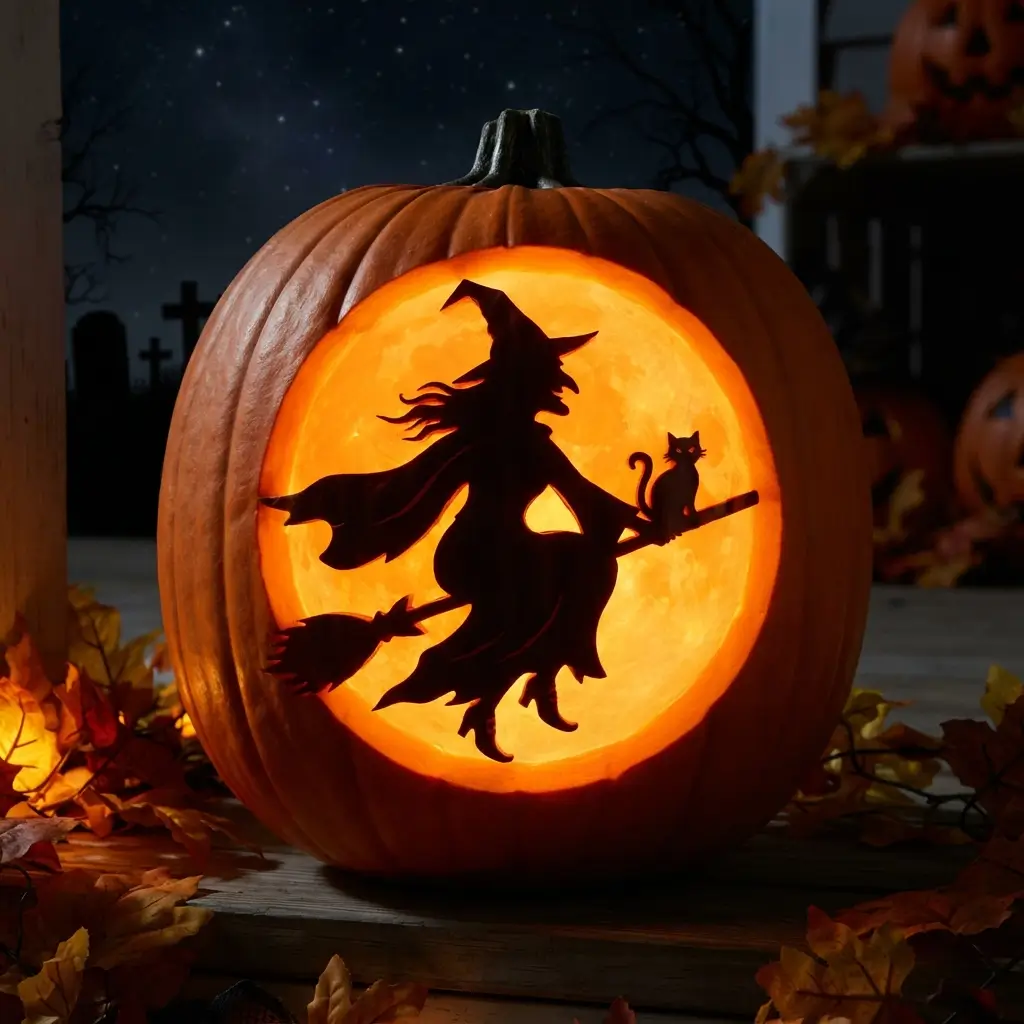
Capture the quintessential magic of Halloween night with a classic witch flying on her broomstick.
Carve out a glowing full moon background, leaving the solid silhouette of the witch and her iconic pointy hat right in the center.
You can add a tiny black cat riding on the back of the broom for an extra dash of charm.
This striking contrast between the bright, glowing moon and the dark, uncarved silhouette creates a very bold, dramatic visual effect that instantly grabs the attention of any passing visitor.
9. Scary Zombie Face
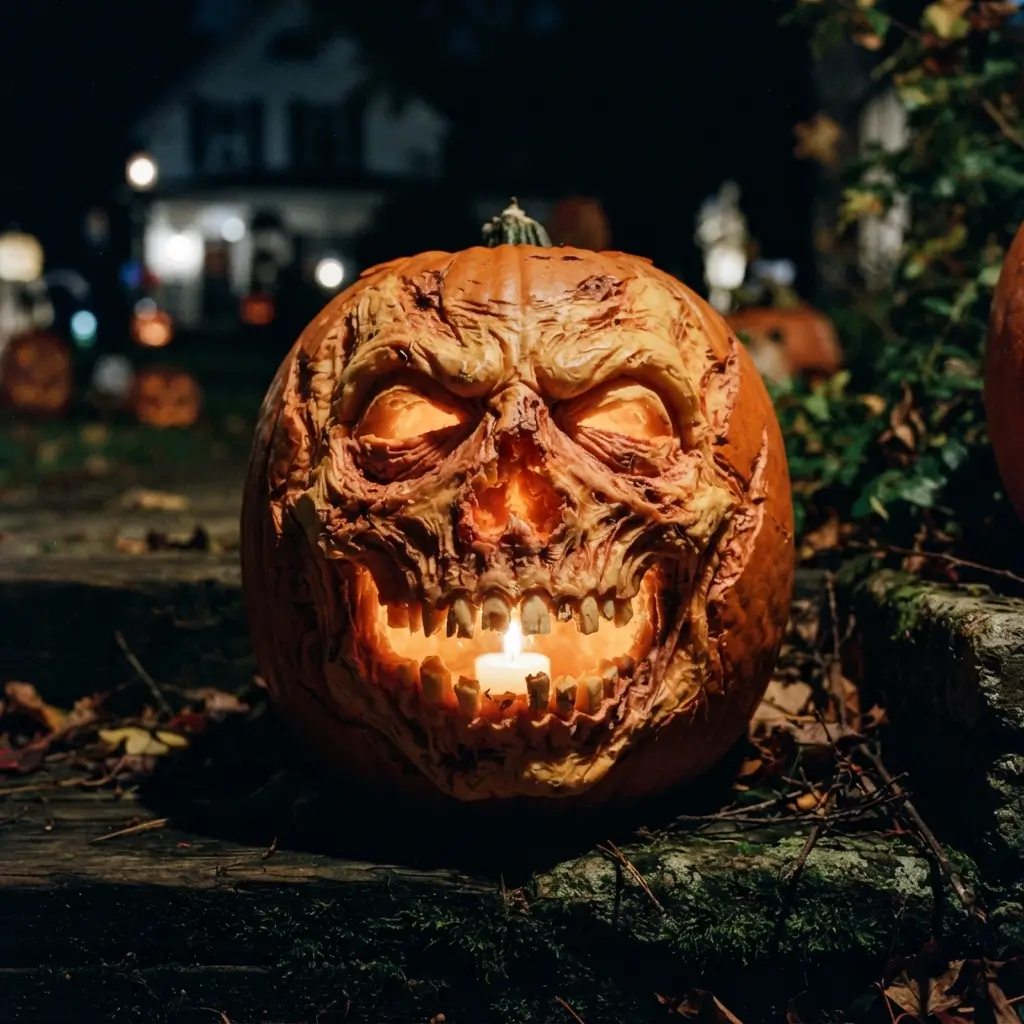
Embrace the true horror of the holiday by crafting a terrifying, decaying scary zombie face.
Focus on carving sunken, asymmetrical eyes, a missing nose, and an exposed, jagged jawbone with missing teeth.
You can scrape away just the top layer of the orange skin around the wounds to create a deeply textured, rotting flesh appearance when illuminated.
This delightfully gruesome design requires a bit of patience and shading technique, but it absolutely guarantees to be the scariest, most talked-about decoration on your entire dimly lit neighborhood block.
10. Cute Owl Design
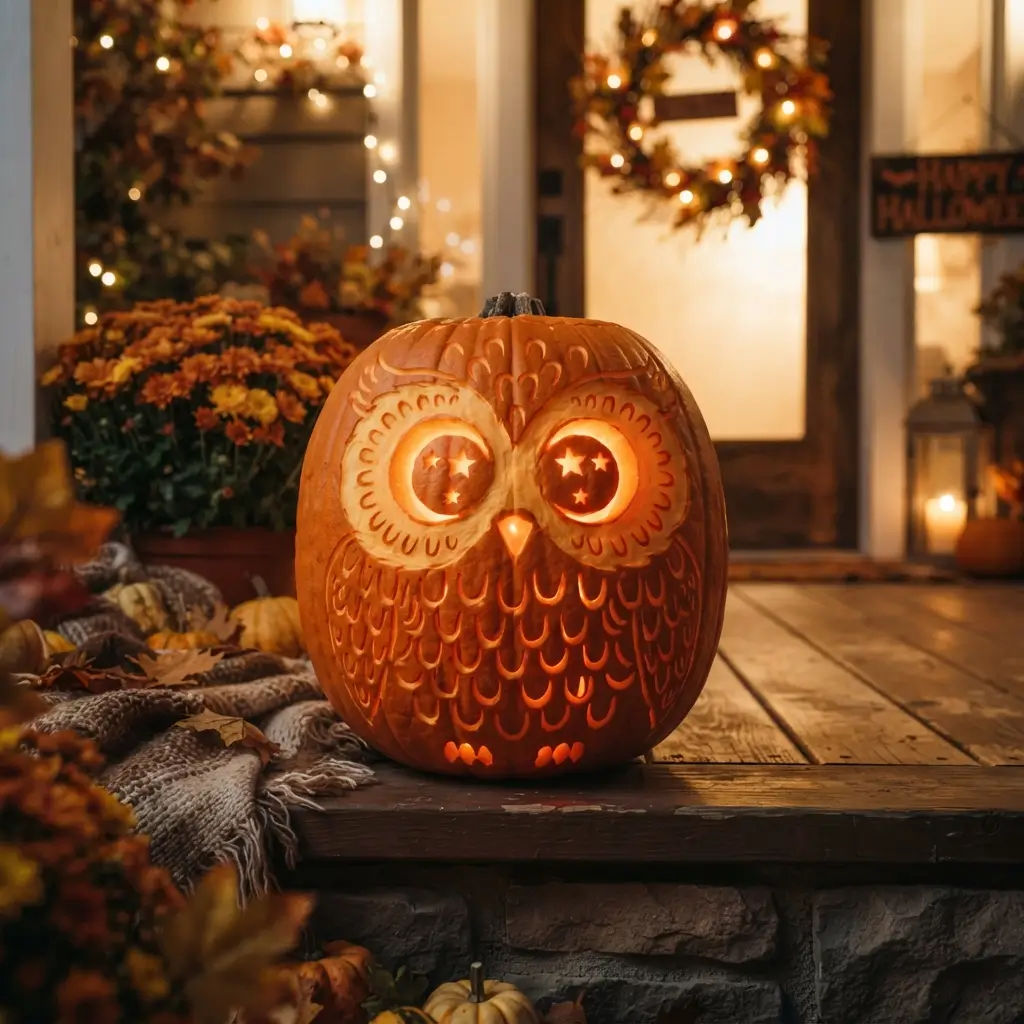
A cute owl design is an adorable, woodland-inspired alternative that children absolutely adore during the Halloween season.
Carve two massive, overlapping circles for the expressive eyes, a tiny triangular beak, and intricate feather patterns along the pumpkin’s sides using simple U-shaped cuts.
The glowing, oversized eyes will make the wise little bird look incredibly lifelike as it sits perched on your front porch step.
It brings a cozy, welcoming autumn vibe to your home while still participating perfectly in the beloved seasonal tradition of joyful pumpkin carving.
11. Minimalist Polka Dots
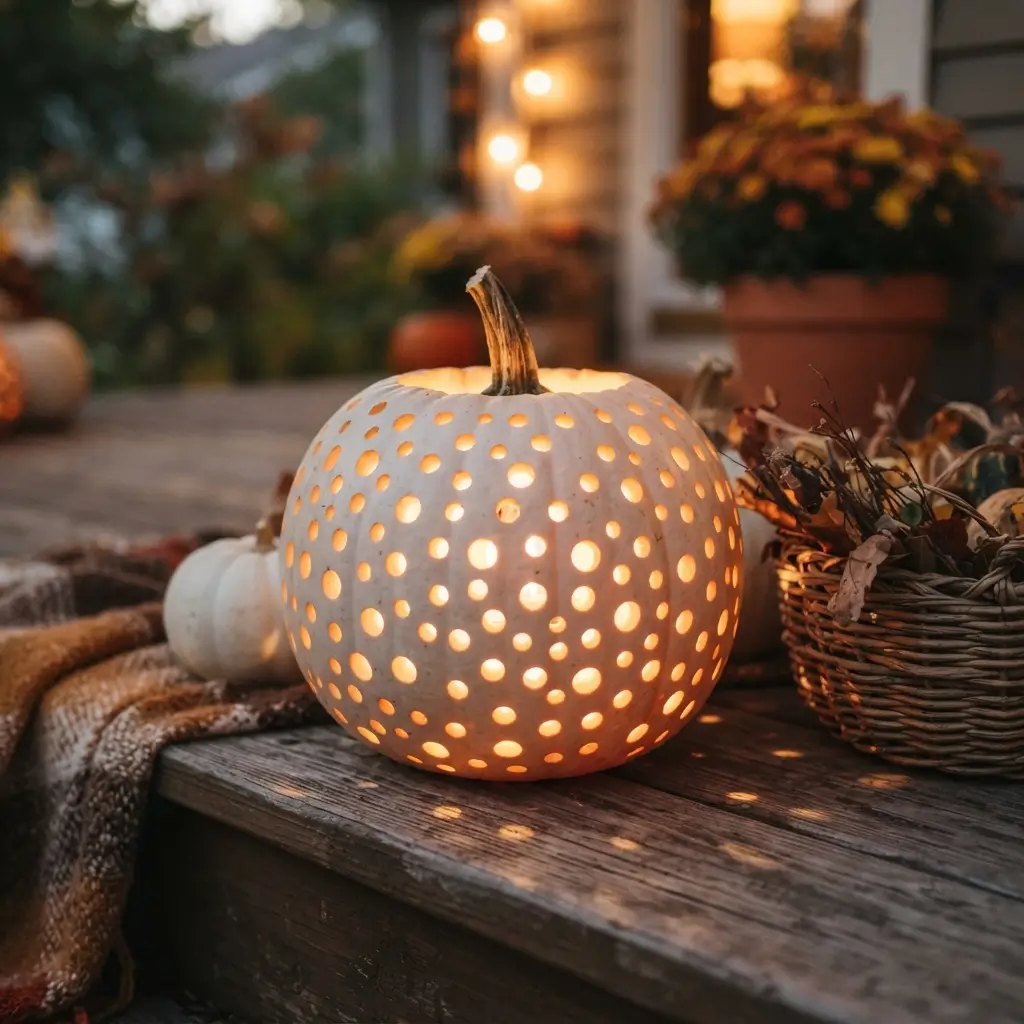
For a chic, modern aesthetic, consider completely skipping the traditional faces and instead carving minimalist polka dots.
Grab a power drill or a specialized hole-cutter tool to easily punch perfectly round holes all over the surface of your pumpkin.
You can create uniform rows or scatter them randomly for a fun, bubbly effect. When you place a bright candle inside, it functions like a beautiful, glowing disco ball.
This incredibly fast, stylish method is totally foolproof and requires absolutely zero artistic drawing skills to look professionally done.
12. Movie Character Portrait
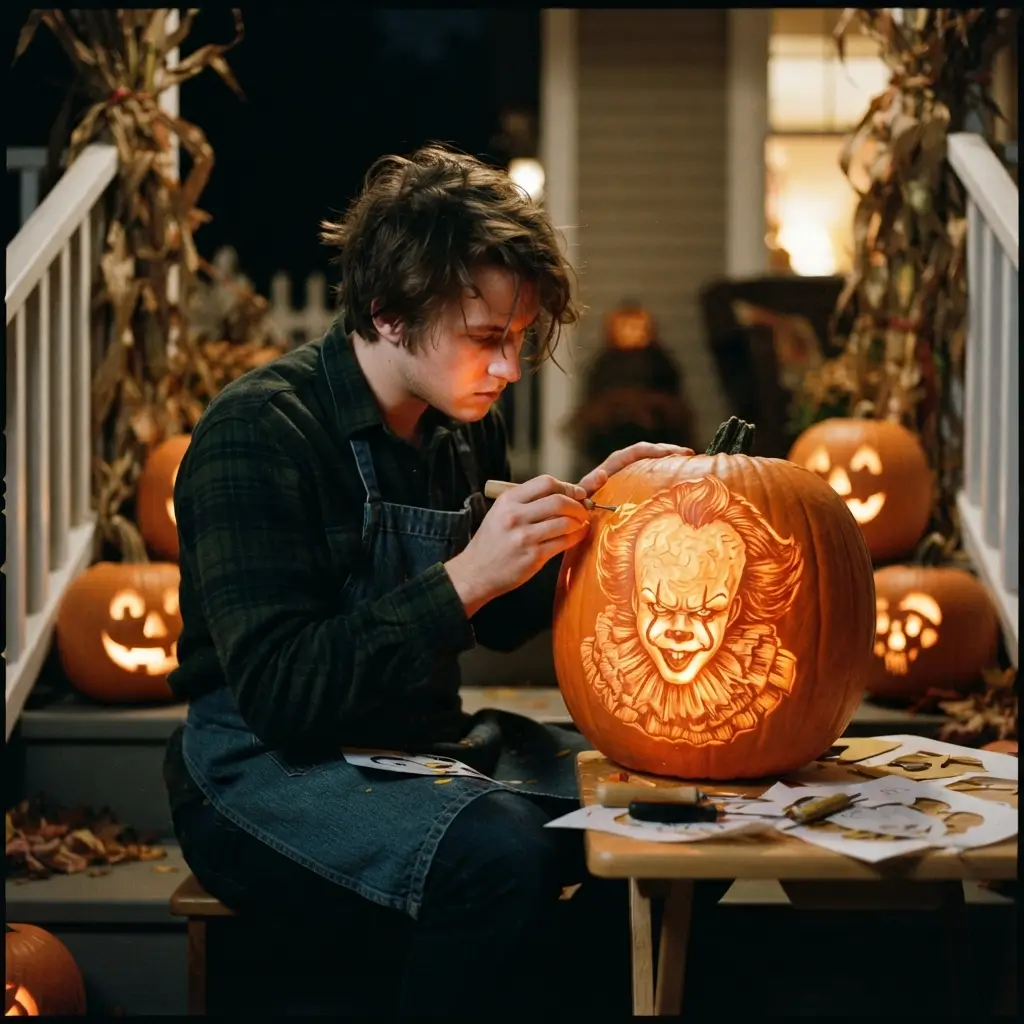
Paying tribute to your absolute favorite cinema villain is a fantastic way to personalize your Halloween display.
Whether you choose a famous slasher or a beloved animated spooky character, carving a recognizable movie character portrait always draws excited crowds.
This advanced technique usually requires transferring a high-contrast printed photograph onto the pumpkin and carefully shading different depths of the rind to achieve realistic features.
It takes significant time and dedication, but displaying a glowing, lifelike pop-culture icon on your porch is incredibly rewarding and highly impressive.
Tips
- Thin the walls: Scrape the inner walls of the pumpkin so they are about one inch thick; this makes cutting much easier.
- Use dry erase markers: Draw your design with a dry erase marker instead of a permanent one so you can wipe away mistakes easily.
- Preserve your pumpkin: Rub petroleum jelly or coat the cut edges with a water-bleach solution to prevent it from shriveling too fast.
Mistakes to Avoid
- Cutting the top straight down: If you cut straight down, the lid will eventually cave in. Cut the top at a 45-degree angle.
- Carving too early: Pumpkins rot quickly once cut. Wait until a few days before Halloween to do your carving.
- Using cheap, flimsy knives: Kitchen knives can slip and cause injury. Invest in a proper serrated carving tool for better control.
Frequently Asked Questions
How long do carved pumpkins last? A carved pumpkin typically lasts between 3 to 5 days before it starts to mold or cave in, depending heavily on the climate and humidity.
Can I use artificial candles instead of real flames? Absolutely. Battery-operated LED tea lights or fairy lights are actually recommended because they are safer and won’t cook the inside of the pumpkin, helping it last longer.
What is the easiest design for a beginner? Polka dots or a classic Jack-o’-Lantern are the easiest. Using a drill for dots requires very little effort, while the classic face utilizes simple geometric shapes.
Wrapping It Up
Getting your hands messy and bringing a gourd to life is one of the greatest highlights of the season. Whether you go for something funny, terrifying, or chic, there is a design out there just waiting to decorate your doorstep.
Final Thoughts
Don’t be afraid to try something outside your comfort zone this year. Even if the design ends up a bit lopsided, the glow of a candle inside easily hides minor imperfections. It’s all about having fun and celebrating the season!
Conclusion
Halloween decorations don’t have to be limited to store-bought plastics and inflatable yard items. Carving a pumpkin is an age-old tradition that brings authentic, atmospheric magic to any home. Grab your tools, pick out your favorite idea from this list, and get ready to create a glowing masterpiece!